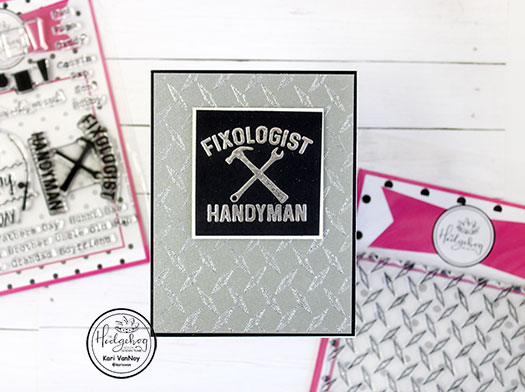
Hello again! I’m starting off May with some craft room organization using some products with the May 2020 Hedgehog Hollow kit. Today it’s an ink swatch book and I have lots of ideas for you!

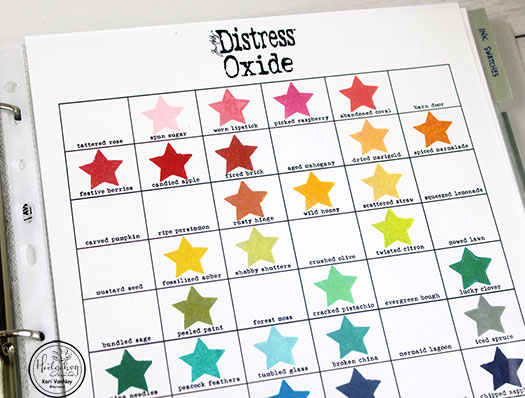
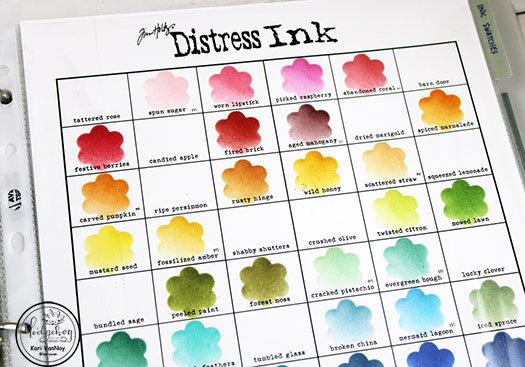
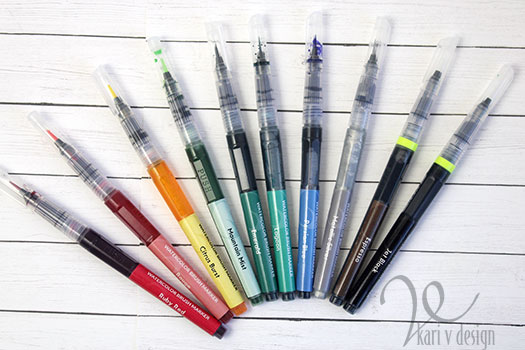
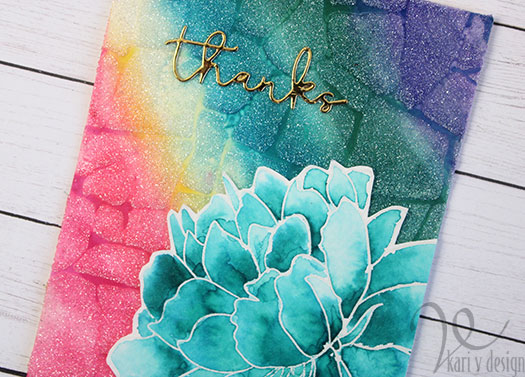
These colors have me feeling HAPPY! I used the smaller stars stamp from the stamp set included in the May 2020 Kit for the Distress Oxides. For the Distress Inks, I used the STENCIL to ink the colors on (since I normally don’t stamp with Distress Inks…I use them for techniques and stencils).
I have a video with some tools and tips for you, watch it below or in HD on YouTube:
I love some good organization! I have to give a standing ovation to Jennifer McGuire for putting together all these 2×2 ink charts with LOTS of inks. She even includes a blank one so you can fill in your own inks, too!
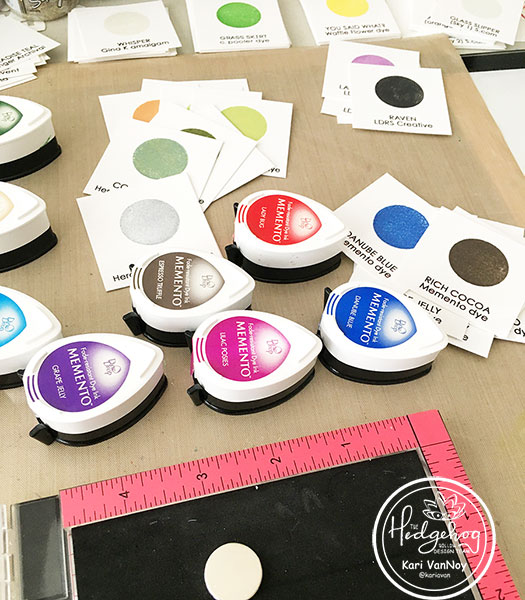
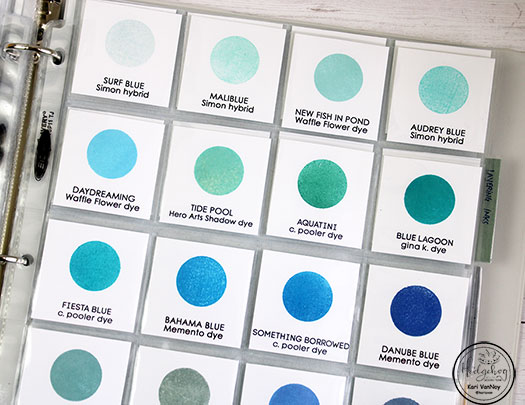
I got the 3 colors charts from Ranger and Scrapbook.com and if you are interested you can find them here:
Jennifer McGuire Charts:
Distress Ink & Oxide Charts:
Scrapbook.com Ink Chart:

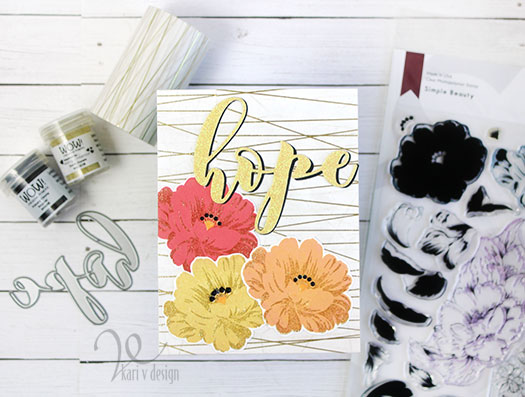
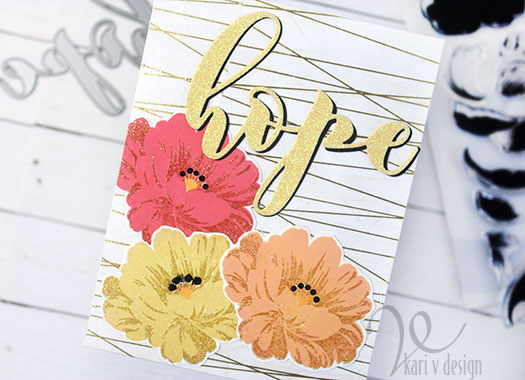
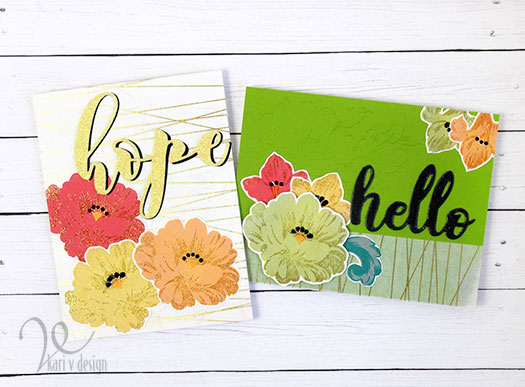
For the Altenew inks, I stamped a flower with all the layering colors to see what they look like together.
Watch the video for all the details here.
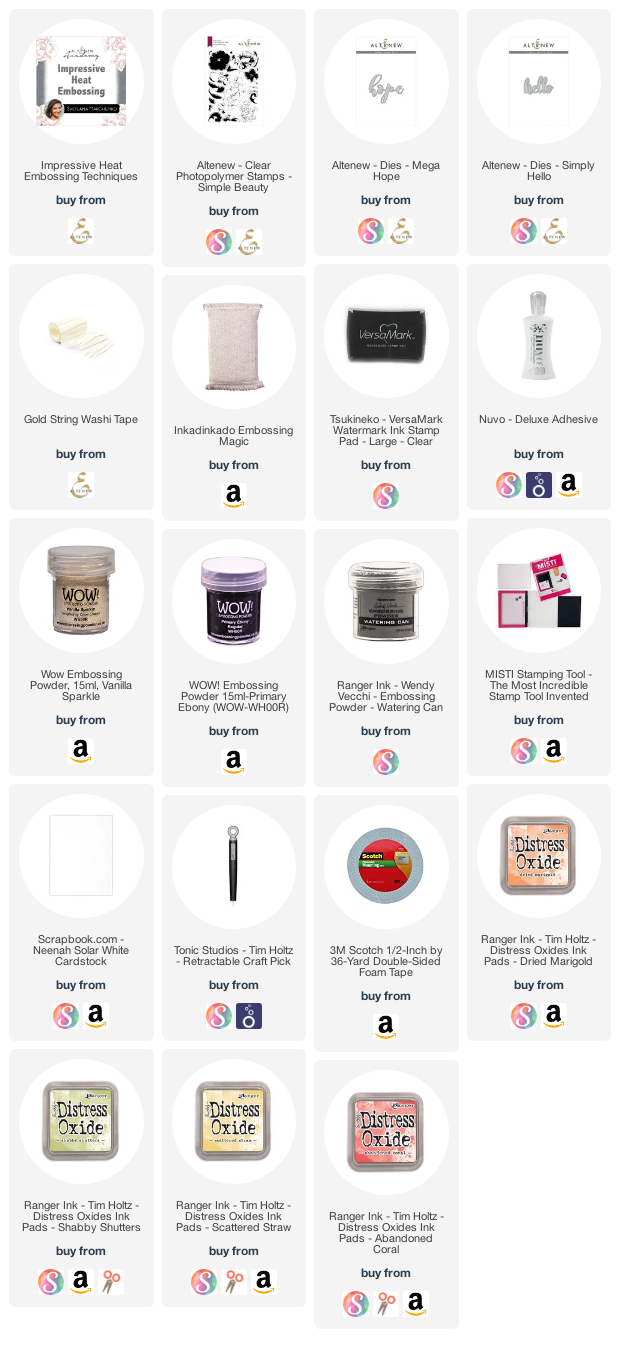
I’m often asked what supplies I use to make my cards, so I’ve made a list here using affiliate links when possible. If you make a purchase with these links I may receive a small commission. These help me to keep up with blog costs and continue bringing you fun projects. Thank you so much for your support!
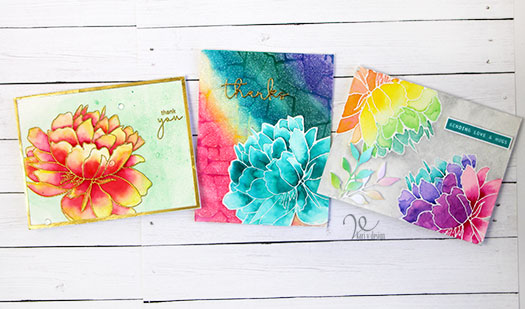
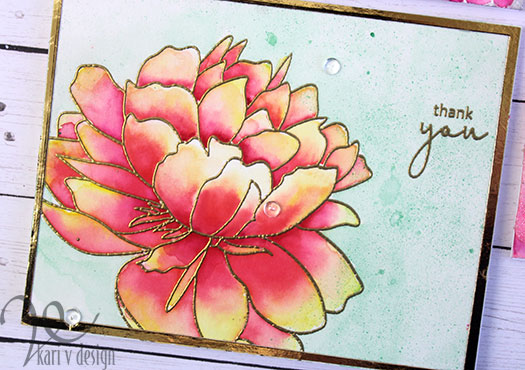
I hope you enjoyed this today! I am so happy seeing all these colors together.
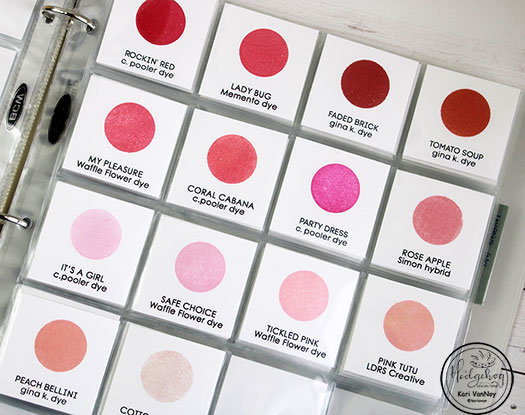
So have you done ink swatching in your craft room? I’ll be back real soon with more organizing ideas!
May your days be filled with sunshine,