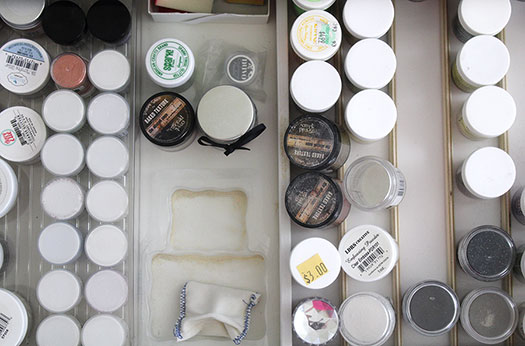
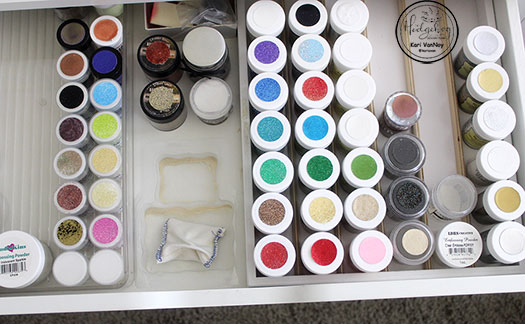
Hello again! I’m back with another installment of my Organization in the Craft Studio Series! Today I’m talking about stencil organization and 6×6 paper organization. The May 2020 Hedgehog Hollow Kit had a really great product that inspired me to do this organizing!
It’s the 6×7 Storage Pocket, and it’s sturdy with a tab at the top for easy labeling! Oh, I think I’m really going to love this!
Check out my video below or in HD on Youtube, where I also talk about the easiest way to organize and store stencils:
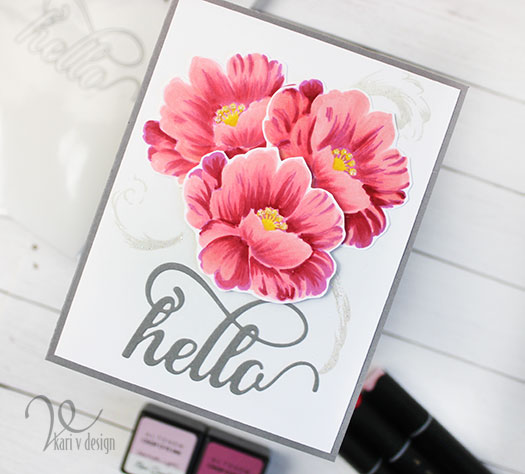
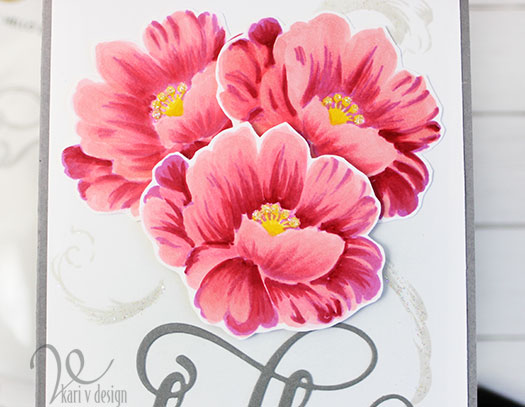
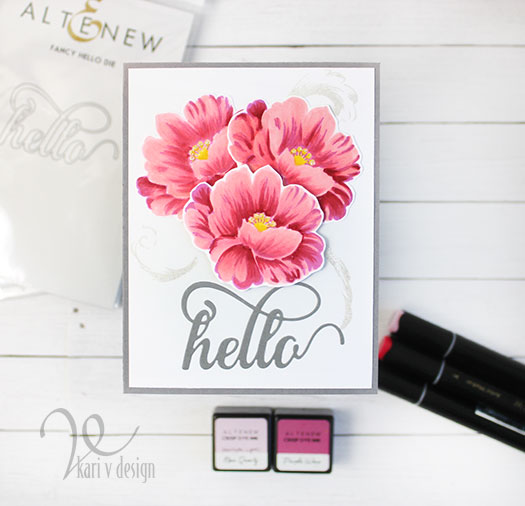
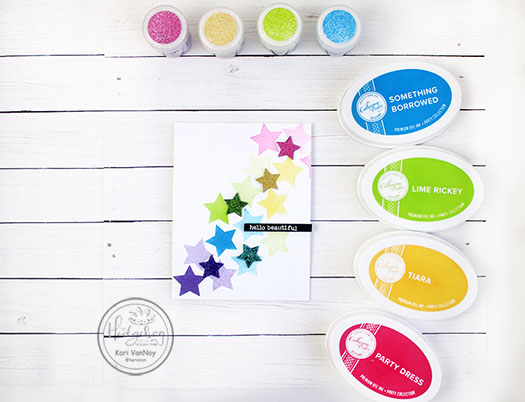
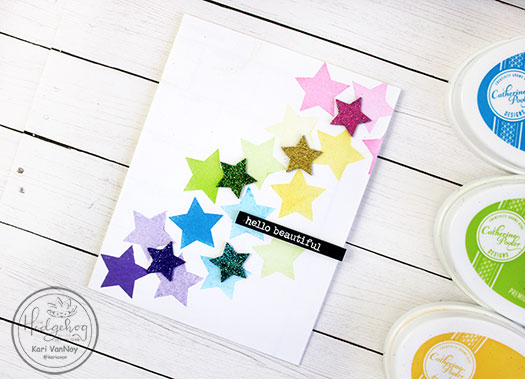
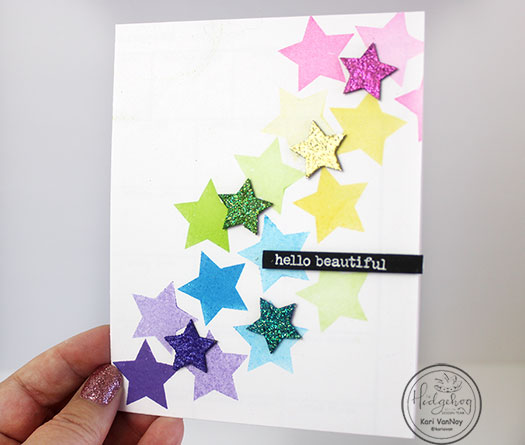
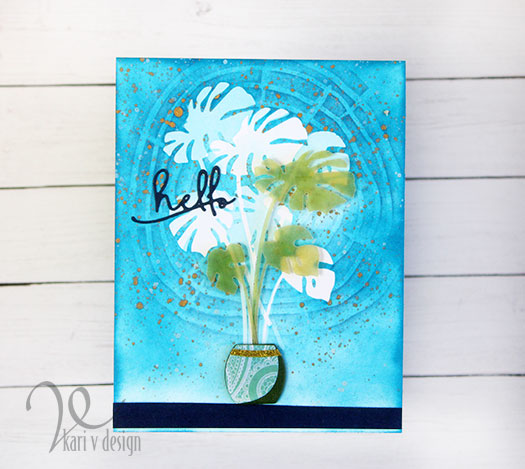
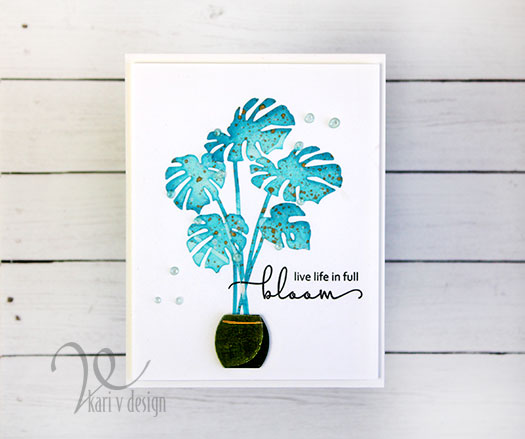
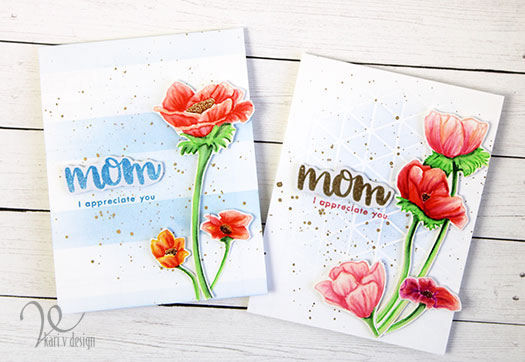
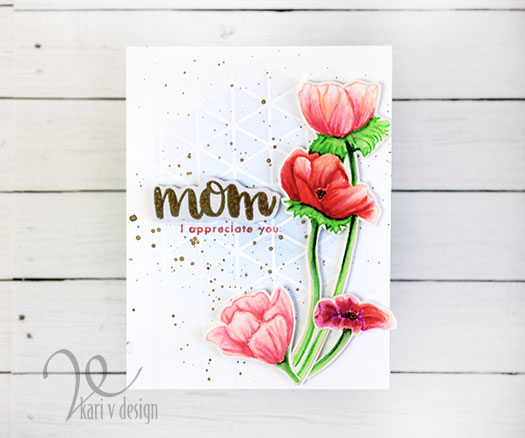
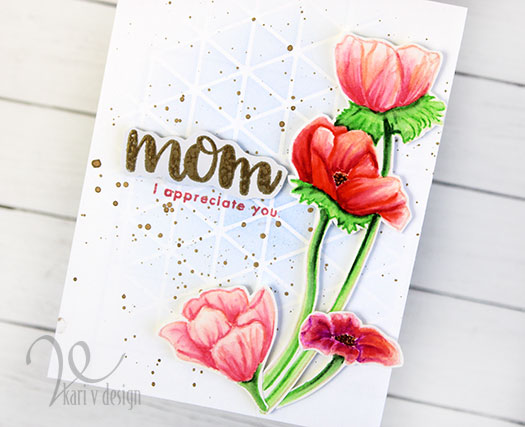
And of course, while I was organizing, I was so inspired by the papers that I had to create a quick card! Lol…ever wonder why it takes so long to organize?!? I get distracted!
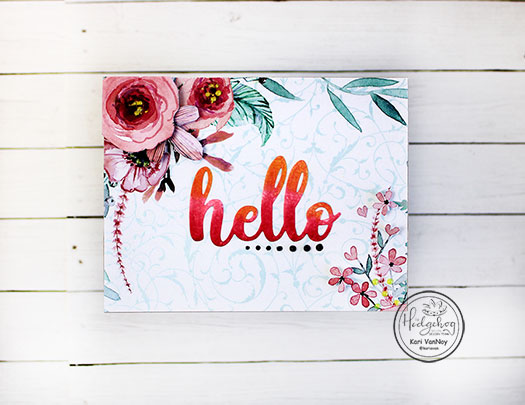
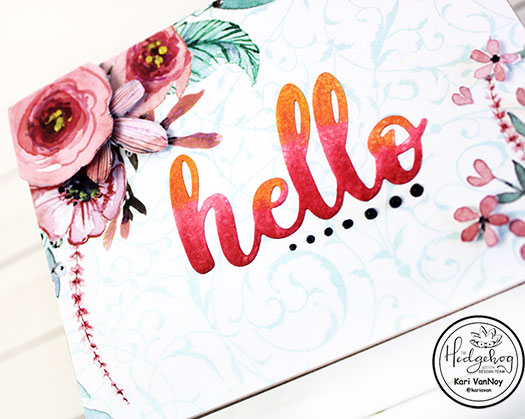
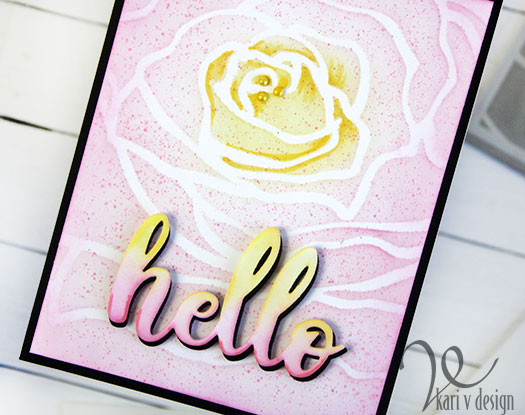
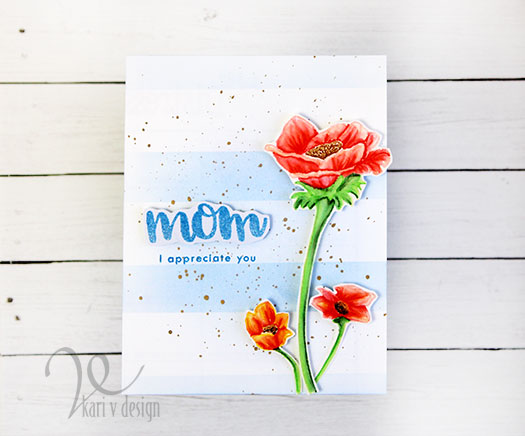
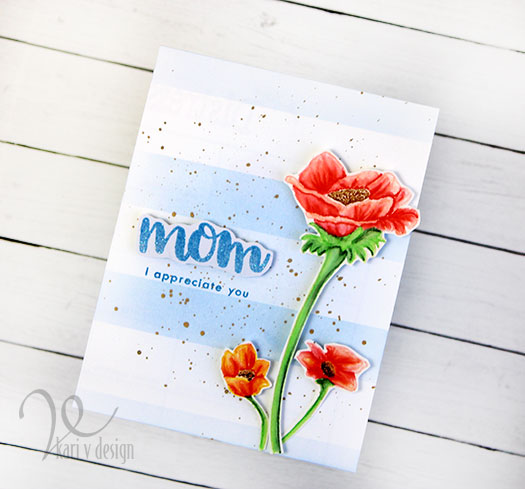
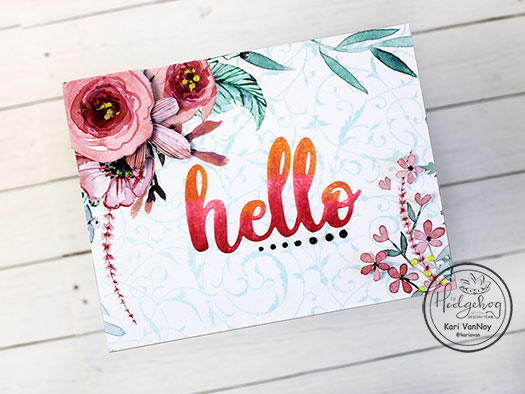
I took a piece of the 6×6 paper and cut it down to 4.25″ x 5.5″. Then, with the remaining pieces, I fussy cut some of the flowers and popped them up with foam tape on the top left and lower right side of the panel.
I added a hello die cut, colored with alcohol markers, into the center and added some black Nuvo drops. That’s it! The easiest, happy hello card!
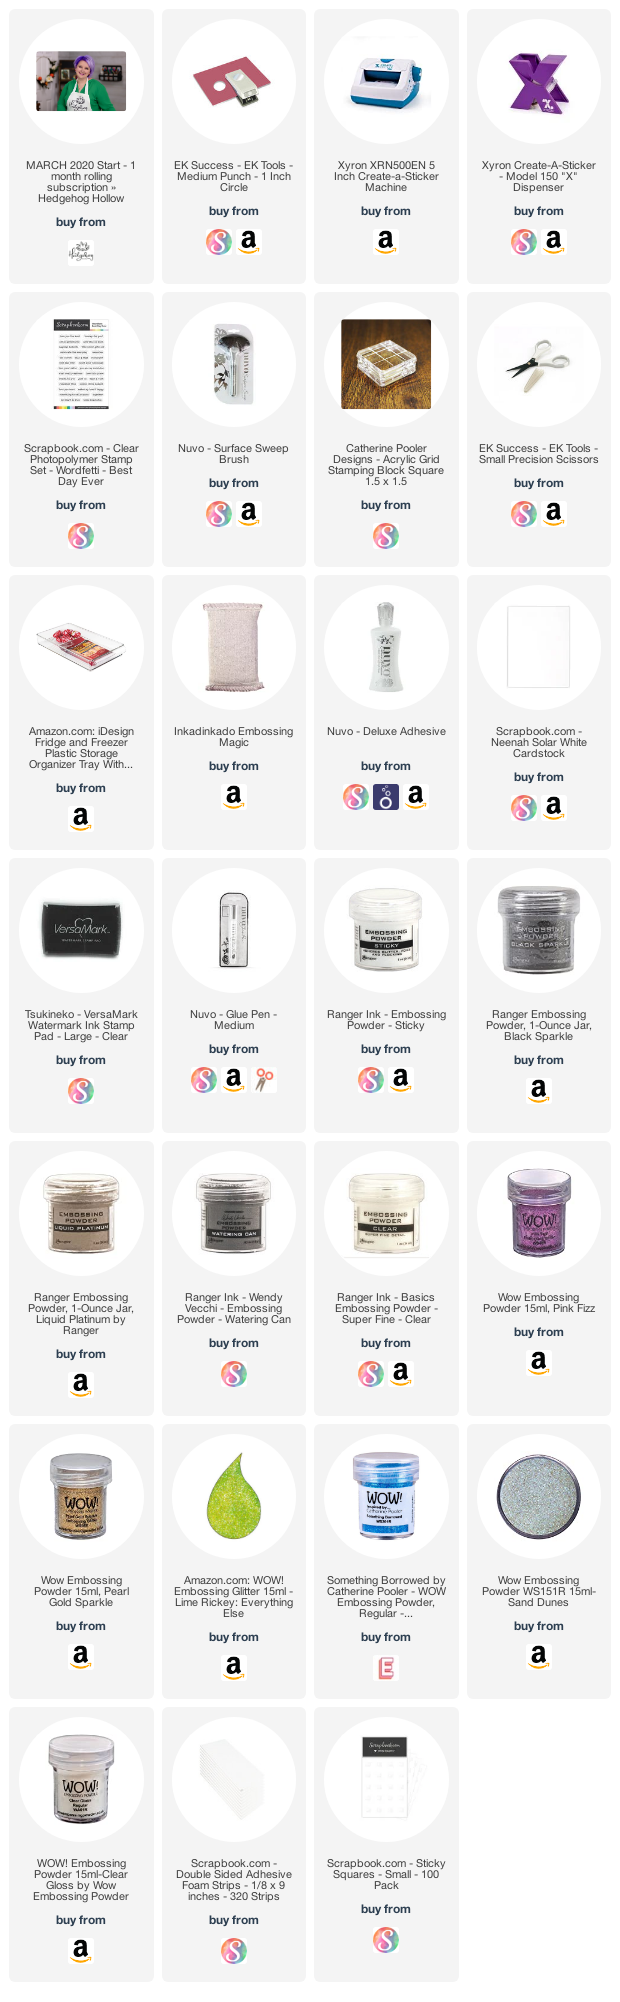
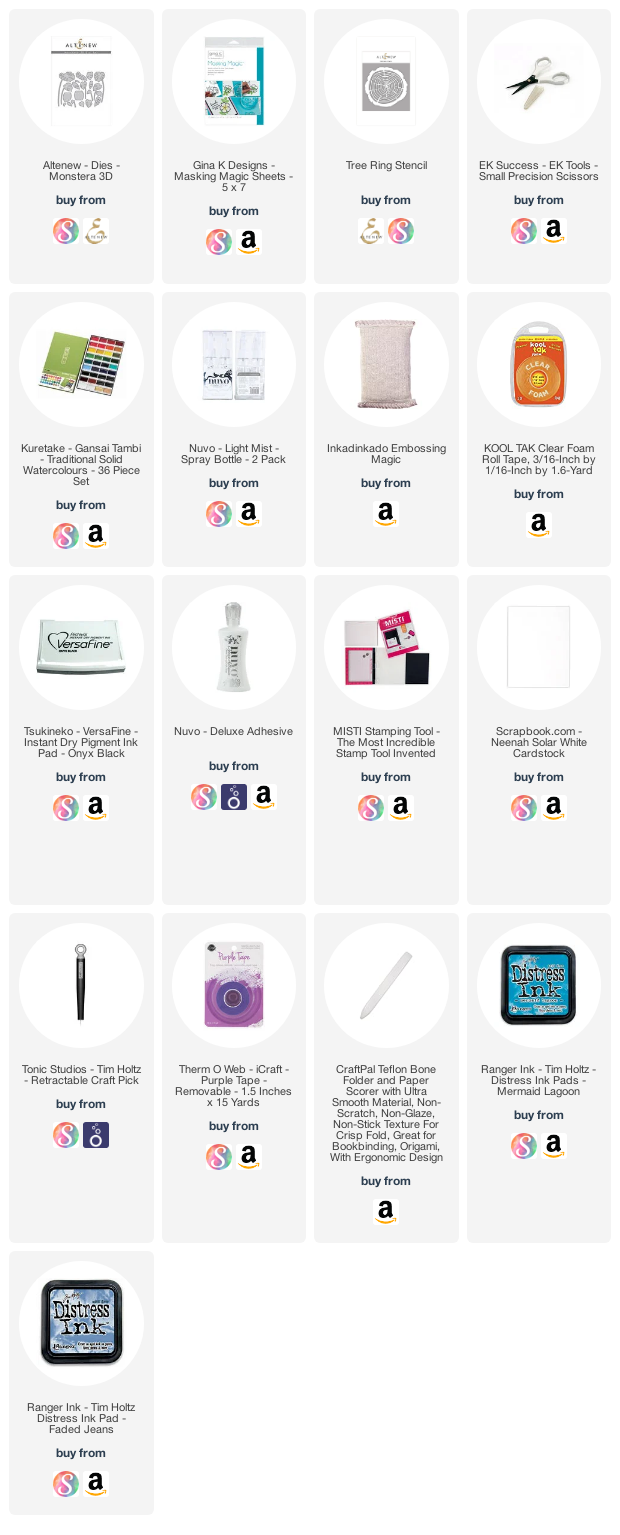
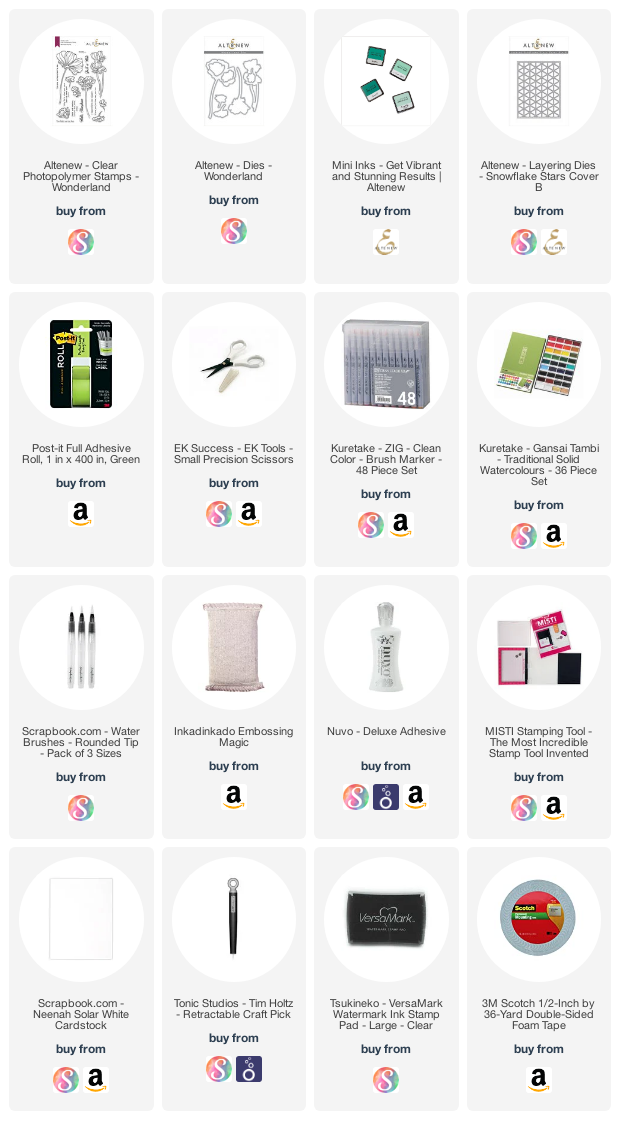
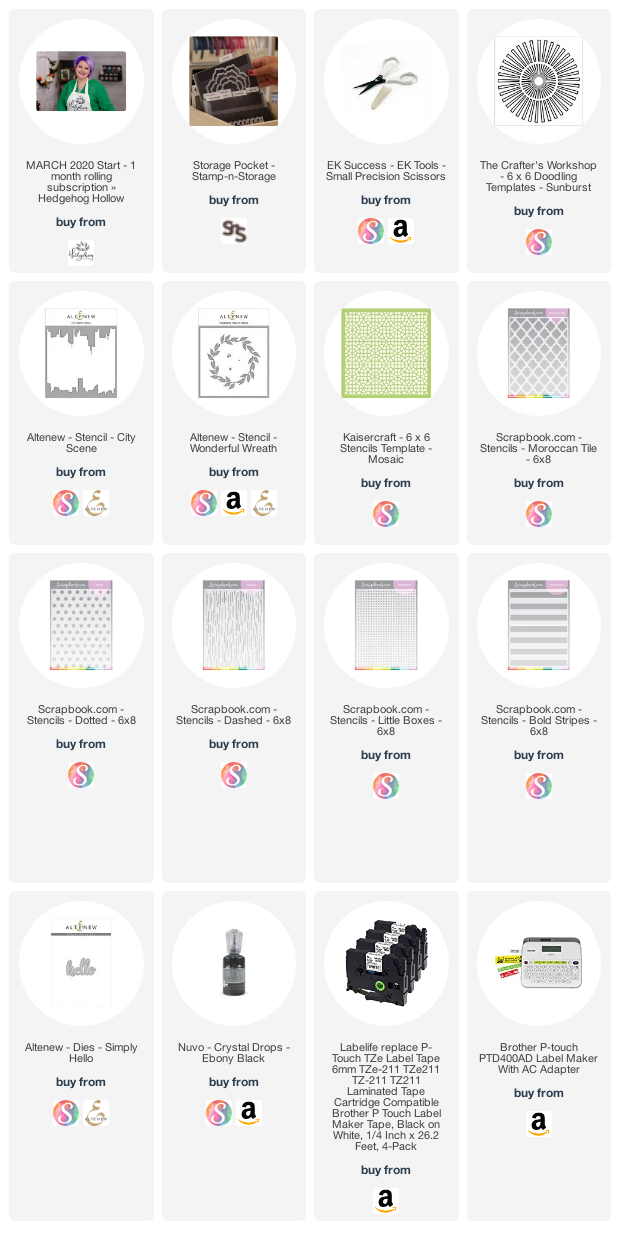
I’m often asked what supplies I use to make my cards, so I’ve made a list here using affiliate links when possible. If you make a purchase with these links I may receive a small commission. These help me to keep up with blog costs and continue bringing you fun projects. Thank you so much for your support!
I hope you enjoyed my organizing tips for stencils and 6×6 paper today! And my card made with minimal supplies. 🙂
May your days be filled with sunshine,